From the blog
HVAC Maintenance Checklist: What to Do Before Summer Hits
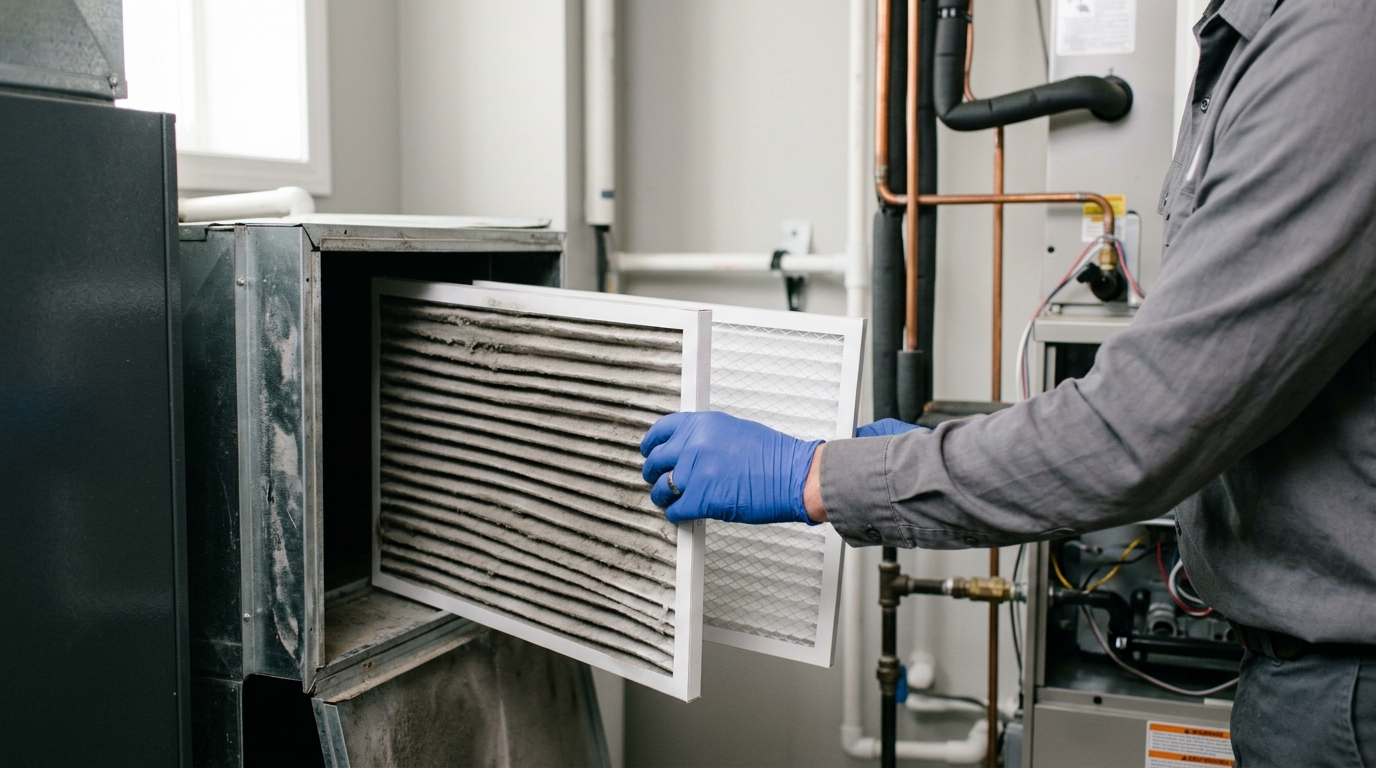
Before summer arrives, complete these 12 HVAC maintenance tasks: replace the air filter, clean condenser coils, check refrigerant levels, test the thermostat, clear the condensate drain, inspect ductwork, lubricate moving parts, verify electrical connections, clean evaporator coils, check the blower motor, test system airflow, and schedule a professional tune-up. Completing this checklist can reduce summer energy bills by up to 30% and prevent 80% of common AC failures before they happen.
Why Pre-Summer HVAC Maintenance Is Non-Negotiable
Your HVAC system sat through months of lower demand during winter. Dust accumulated, refrigerant lines settled, and mechanical components stiffened. When temperatures spike in June and your system runs 8–12 hours a day, a neglected unit doesn't just underperform - it fails. Emergency HVAC service calls in peak summer routinely cost $300–$600, while a scheduled spring tune-up averages $75–$150. The math is straightforward.
Work through this checklist in order. The tasks at the top are DIY-friendly; the ones near the bottom require a licensed HVAC technician.
The Complete Pre-Summer HVAC Maintenance Checklist
1. Replace or Clean the Air Filter
A clogged filter is the single most common cause of reduced airflow and system overheating. Replace 1-inch filters every 30–90 days; 4-inch media filters every 6–12 months. Use a MERV 8–13 rated filter for residential systems - MERV 8 for basic filtration, MERV 11–13 if anyone in your home has allergies or asthma. Go higher than MERV 13 and you risk restricting airflow unless your system is specifically designed for it.
2. Clean the Condenser Unit (Outdoor Unit)
Turn off power at the disconnect box first. Remove debris - leaves, grass clippings, cottonwood seeds - from around and inside the condenser cabinet. Use a garden hose to gently rinse the condenser fins from the inside out. Maintain at least 24 inches of clearance on all sides. Bent fins reduce efficiency; straighten them carefully with a fin comb.
3. Check Refrigerant Levels
Low refrigerant means the system works harder, cools less, and eventually freezes the evaporator coil. This is not a DIY task - handling refrigerants like R-410A or the newer R-454B (now standard in many units) requires EPA 608 certification. Schedule a technician to check charge levels and inspect for leaks with an electronic leak detector.
4. Test and Calibrate the Thermostat
Set your thermostat to cooling mode and drop the set point 5°F below room temperature. The system should kick on within a few minutes. If you have a smart thermostat like an Ecobee SmartThermostat Premium or Nest Learning Thermostat, check that it's running the latest firmware and that occupancy schedules are optimized for summer hours. A miscalibrated thermostat can cause your system to run 10–15% longer than necessary.
5. Clear the Condensate Drain Line
Your AC removes 5–20 gallons of humidity from the air every day. All that moisture exits through the condensate drain. A clogged drain causes water backup, mold growth, and potential water damage. Pour a cup of distilled white vinegar or a condensate drain cleaner tablet into the drain access port - do this monthly during cooling season. If the line is already backed up, use a wet-dry vac to pull the blockage from the outdoor drain end.
6. Inspect Ductwork for Leaks and Damage
The U.S. Department of Energy's research has found that duct leakage accounts for 20–30% of cooling energy loss in a typical home. Walk accessible duct runs in your attic or basement and look for disconnected joints, torn insulation, or gaps at registers. Seal small leaks with UL 181-rated foil tape (not standard duct tape, which fails within a year). For major duct issues, contact an HVAC contractor for a duct blaster test.
7. Lubricate Fan Motors and Moving Parts
Older blower motors and condenser fan motors have oil ports that require a few drops of SAE 10 non-detergent motor oil annually. Newer sealed-bearing motors don't need lubrication. Check your unit's service manual to confirm which type you have. Dry bearings create friction, heat, and eventually motor failure - a new condenser fan motor costs $150–$400 in parts alone.
8. Check Electrical Connections and Capacitors
Loose or corroded electrical connections are a leading cause of compressor failure. A technician should inspect and tighten all connections, measure voltage and amperage on the compressor and fan motors, and test capacitors with a capacitance meter. A failing start capacitor (typically costs $10–$30 in parts) causes hard-start issues and can burn out a compressor worth $1,500+.
9. Clean the Evaporator Coil (Indoor Unit)
The evaporator coil sits inside your air handler or furnace. Dirt buildup insulates the coil and blocks heat transfer. Use a no-rinse evaporator coil cleaner spray - it foams, loosens debris, and drains into the condensate pan. Clean coils can improve cooling efficiency by 10–15%. If the coil shows signs of ice, that indicates restricted airflow or low refrigerant - address those issues first.
10. Inspect the Blower Motor and Wheel
A dirty blower wheel reduces airflow dramatically. Remove the blower assembly and clean each blade with a stiff brush and coil cleaner. Check that the blower motor runs smoothly without unusual vibration or noise. Variable-speed ECM motors should respond smoothly across their speed range - erratic behavior suggests a failing control board or motor winding issue.
11. Test System Airflow at Every Register
Walk room to room with the system running at full cooling. Every supply register should push a noticeable stream of air; every return register should pull air in. Weak airflow in specific rooms points to duct problems, closed dampers, or undersized ductwork. Balance the system by partially closing registers in over-cooled rooms to redirect airflow where it's needed.
12. Schedule a Professional Tune-Up
Even if you've completed every DIY step above, a certified HVAC technician has tools you don't: manifold gauge sets for refrigerant measurement, combustion analyzers, megohm meters for motor insulation testing, and thermal cameras for detecting hot spots. Book your tune-up in April or May- technician availability drops sharply once June temperatures arrive and service queues fill up.
DIY vs. Professional HVAC Maintenance Tasks: Quick Comparison
Task DIY or Pro? Frequency Estimated Cost If Neglected Air filter replacement DIY Monthly–quarterly $200–$600 blower failure Condenser cleaning DIY Annually 15–20% efficiency loss Refrigerant check Pro only Annually $1,500–$3,000 compressor Condensate drain clearing DIY Monthly in season $500–$2,000 water damage Capacitor testing Pro only Annually $1,500+ compressor burnout Duct sealing DIY (minor) / Pro (major) Every 3–5 years 30% higher energy billsSigns Your System Needs More Than Routine Maintenance
- Age over 15 years: Most central AC systems have a 15–20 year lifespan. If yours is approaching that range and needs a major repair, replacement is often the smarter financial decision.
- R-22 refrigerant: R-22 (Freon) has been phased out of production. If your system still uses it, refrigerant costs are extremely high and replacement parts are scarce. Plan to replace the entire system.
- Frequent cycling: Short-cycling - the system turning on and off every few minutes - signals oversizing, refrigerant issues, or a failing compressor.
- Humidity above 60% indoors: A properly sized and functioning AC removes humidity as a byproduct of cooling. Persistent indoor humidity above 60% means the system is undersized or malfunctioning.
- Energy bills spiking 20%+ year-over-year: Efficiency drops as systems age and components wear. A significant spike without a change in usage patterns is a red flag.
HVAC Maintenance Checklist FAQ
How often should I have my HVAC system professionally serviced?
Service your HVAC system twice a year - once in spring before cooling season and once in fall before heating season. Annual professional tune-ups catch mechanical issues early and keep manufacturer warranties valid. Many HVAC contractors offer maintenance agreements for $150–$300 per year that include two visits and priority scheduling.
What MERV rating filter should I use for my home AC?
For most homes, a MERV 8 filter balances air quality and airflow adequately. Households with pets, allergies, or asthma benefit from MERV 11–13. Avoid MERV 14+ in standard residential systems - the denser media restricts airflow enough to strain the blower motor and reduce system efficiency unless your system is specifically engineered for high-MERV filtration.
How long does a pre-summer HVAC tune-up take?
A thorough professional HVAC tune-up takes 60–90 minutes for a standard single-system home. Technicians who rush through a tune-up in under 45 minutes are skipping steps. Ask your contractor for an itemized checklist of what's included so you can verify all tasks were completed.
Can I run my AC to test it before summer even if it's still cold outside?
Don't run your AC when outdoor temperatures are below 60°F (15°C). Most refrigerant-based systems aren't designed to operate in cold ambient conditions - doing so can damage the compressor and cause refrigerant liquid slugging. Wait for a warm day, or ask your technician to test cooling function during the service visit using proper diagnostic tools.
What's the ideal thermostat setting for summer efficiency?
The U.S. Department of Energy recommends 78°F (26°C) when you're home and 85°F (29°C) when you're away or asleep. Every degree below 78°F increases your cooling energy use by approximately 3%. A smart thermostat programmed to these setpoints can cut cooling costs by 10–15% compared to a manual thermostat set and forgotten at 72°F all day.
